Soviet forward detachments were either provided as march security elements or as enablers of operational manoeuvre that were focused on resolving Tacticle combat problems in order to allow the units they were supporting to maintain a high rate of advance. As such they were inevitably highly task organised in order to achieve their mission. They were usually formed from the units of the divisional army or front second echelons and upto 30% of the second echelon could be employed in this way.

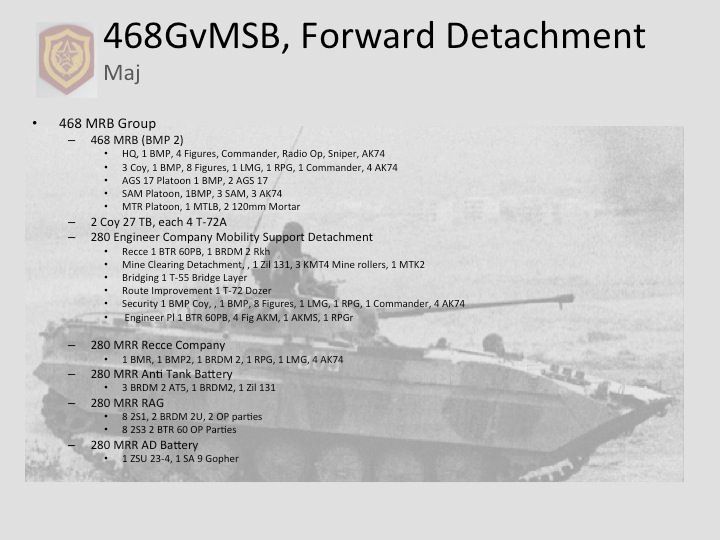
468 MSB at Waidhouse is a heavily reinforced example of the type it was composed of:
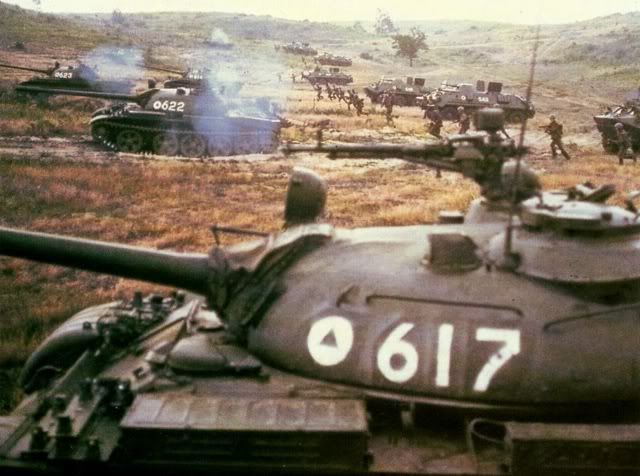
- 2 Tank Companies (T-72A)
- 1 Motor Rifle Battalion (BMP 1P and 2)
- 2 Artillery Battalions (2S1 and 2S3)
- 1 Anti Tank Company (BRDM 2 + AT5)
- 1 Anti Aircraft Company (ZSU 23-4 and SA 9)
- 1 Engineer Mobility Support Detachment
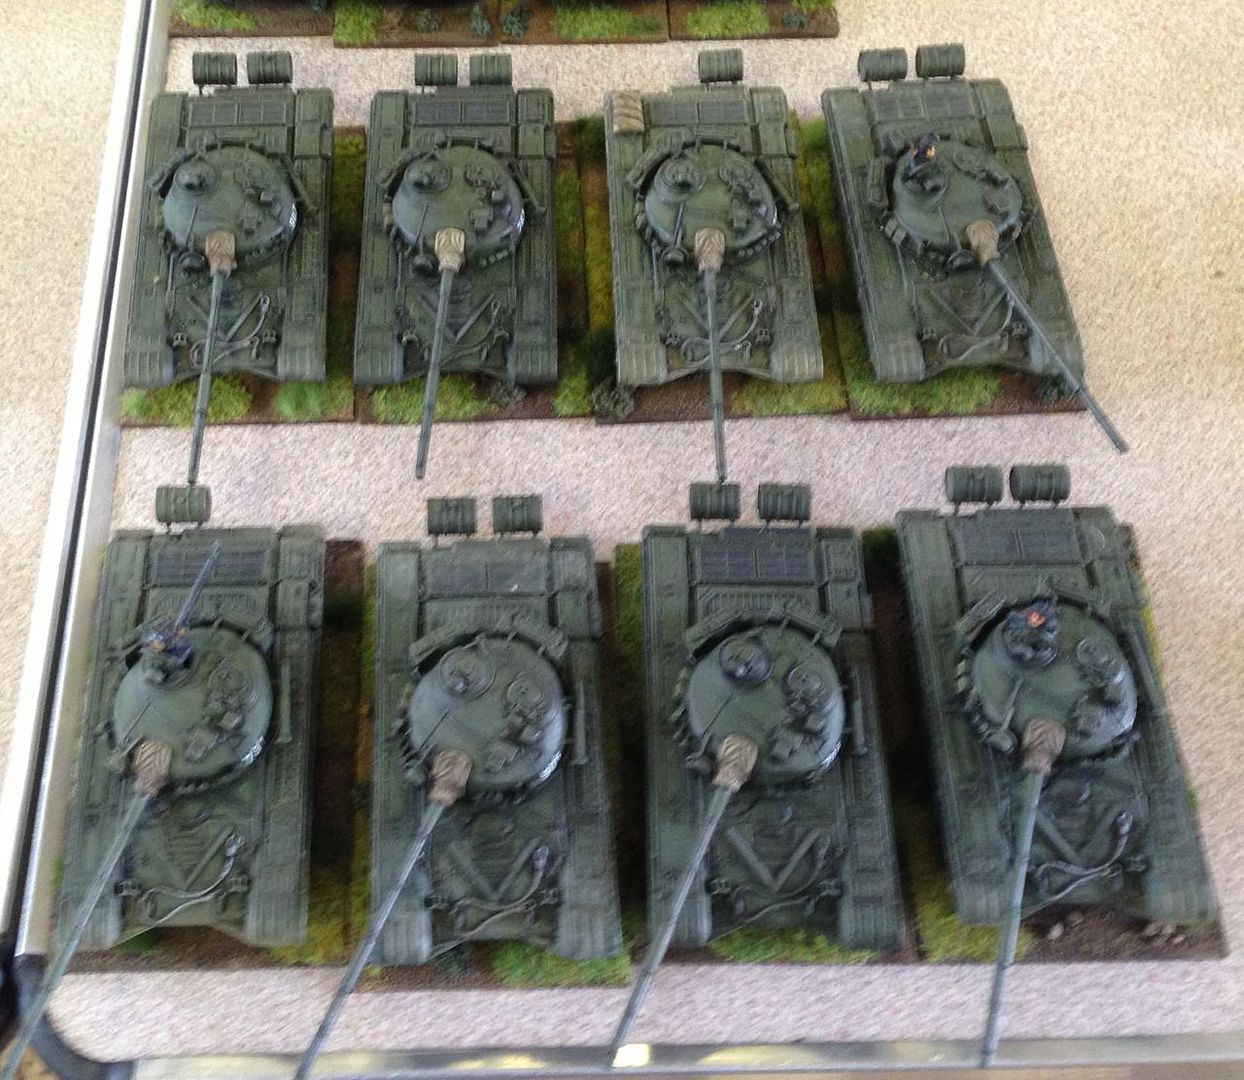
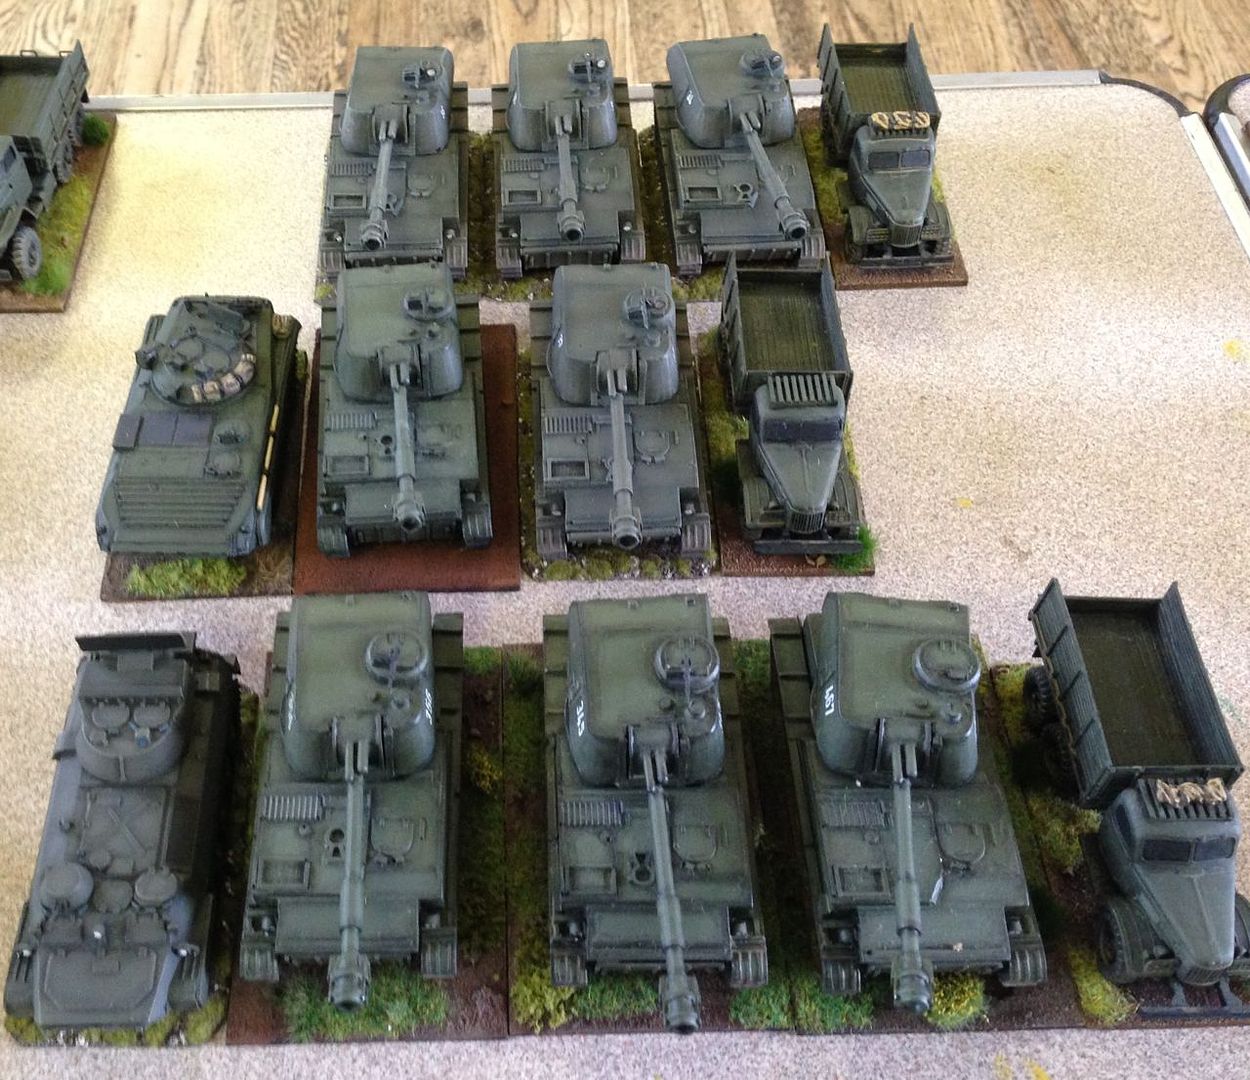
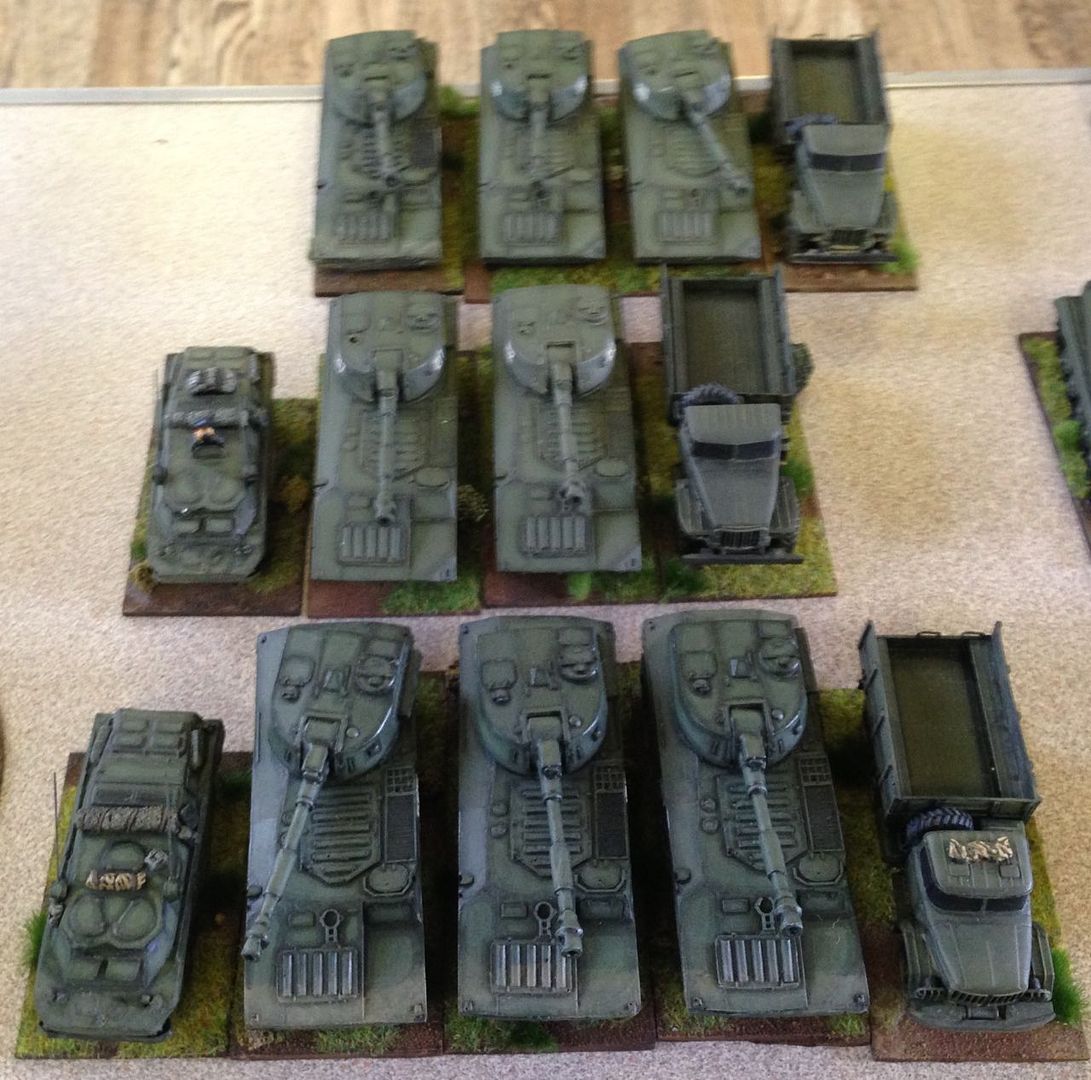
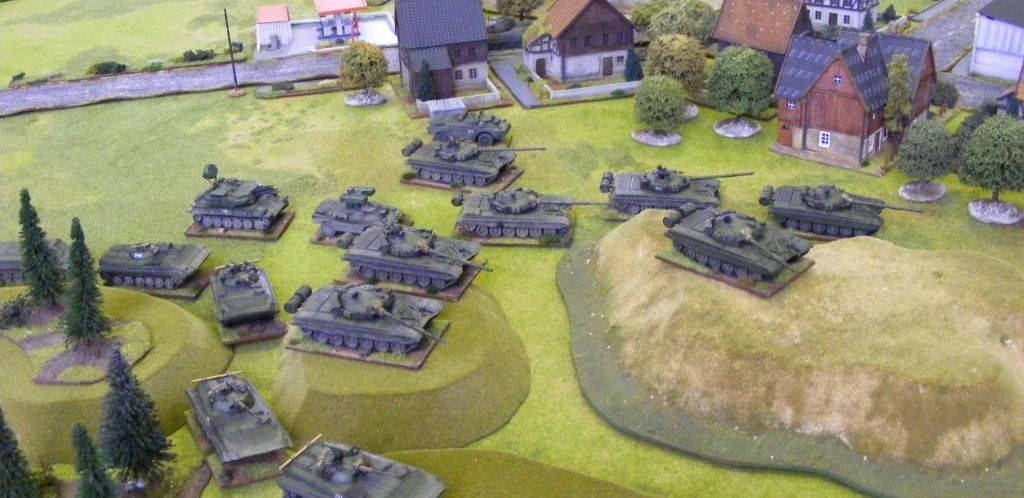
The two Tank companies are both Revell T-72 As, which are a little light weight for a late period game but they are waiting for me to get my T-72Bs and BVs finished, these are built straight from the box, crew are by liberation with decals being from a variety of sources the best being the QRF white stenciled numbers. Having two tank companies attached to an MRB is unusual, but was noted in 5% of post war exercises in Lester Graus analysis in his paper The Soviet Combined Arms Battalion - Reorganisation for Tactical flexibility. The frequency of this type of task organisation was also observed to be increasing towards the end of the period (TBC).

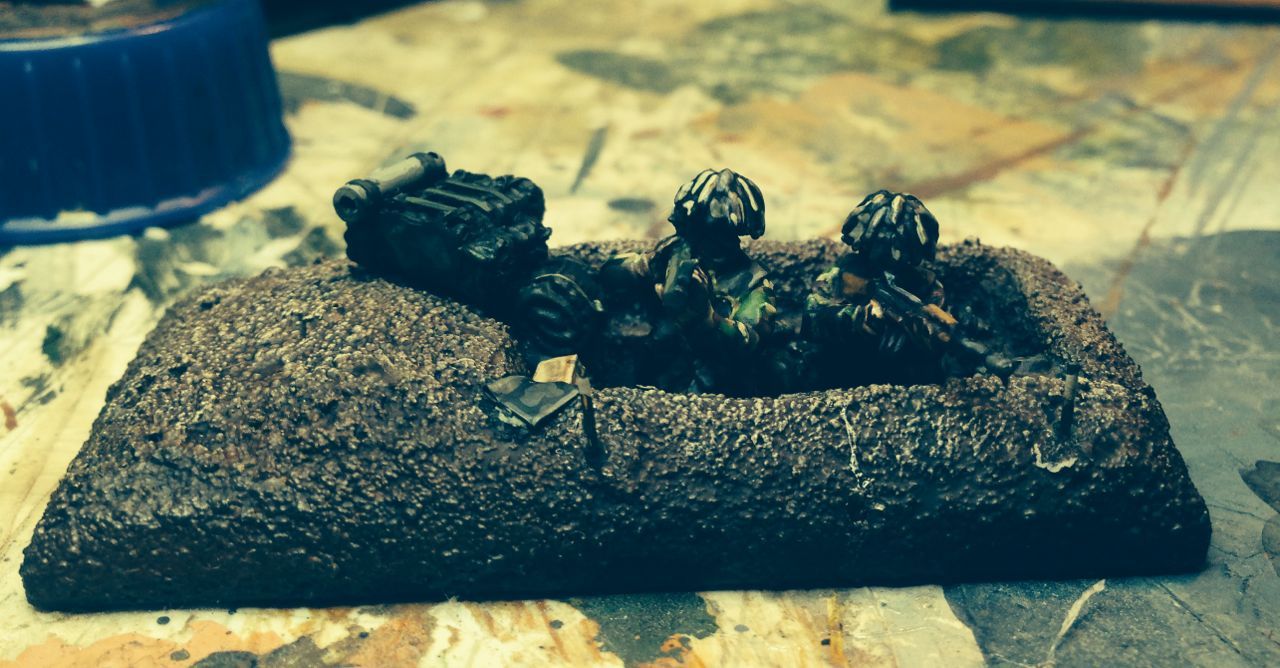
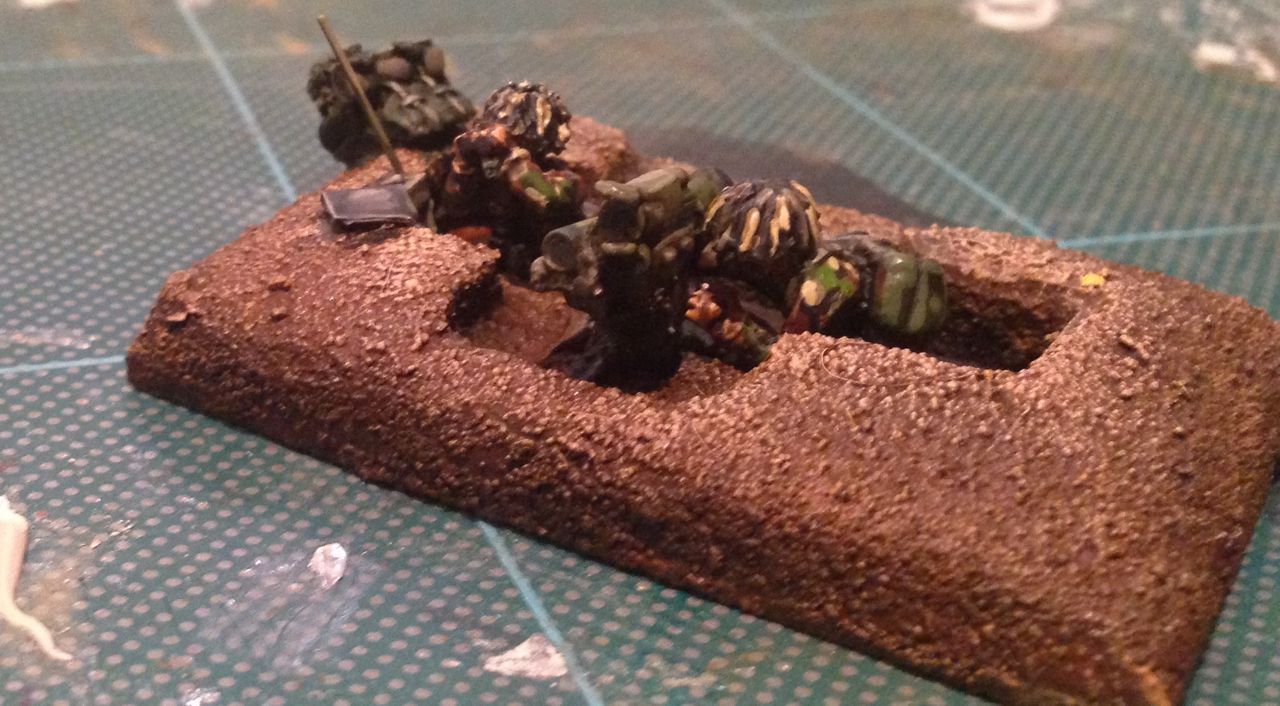
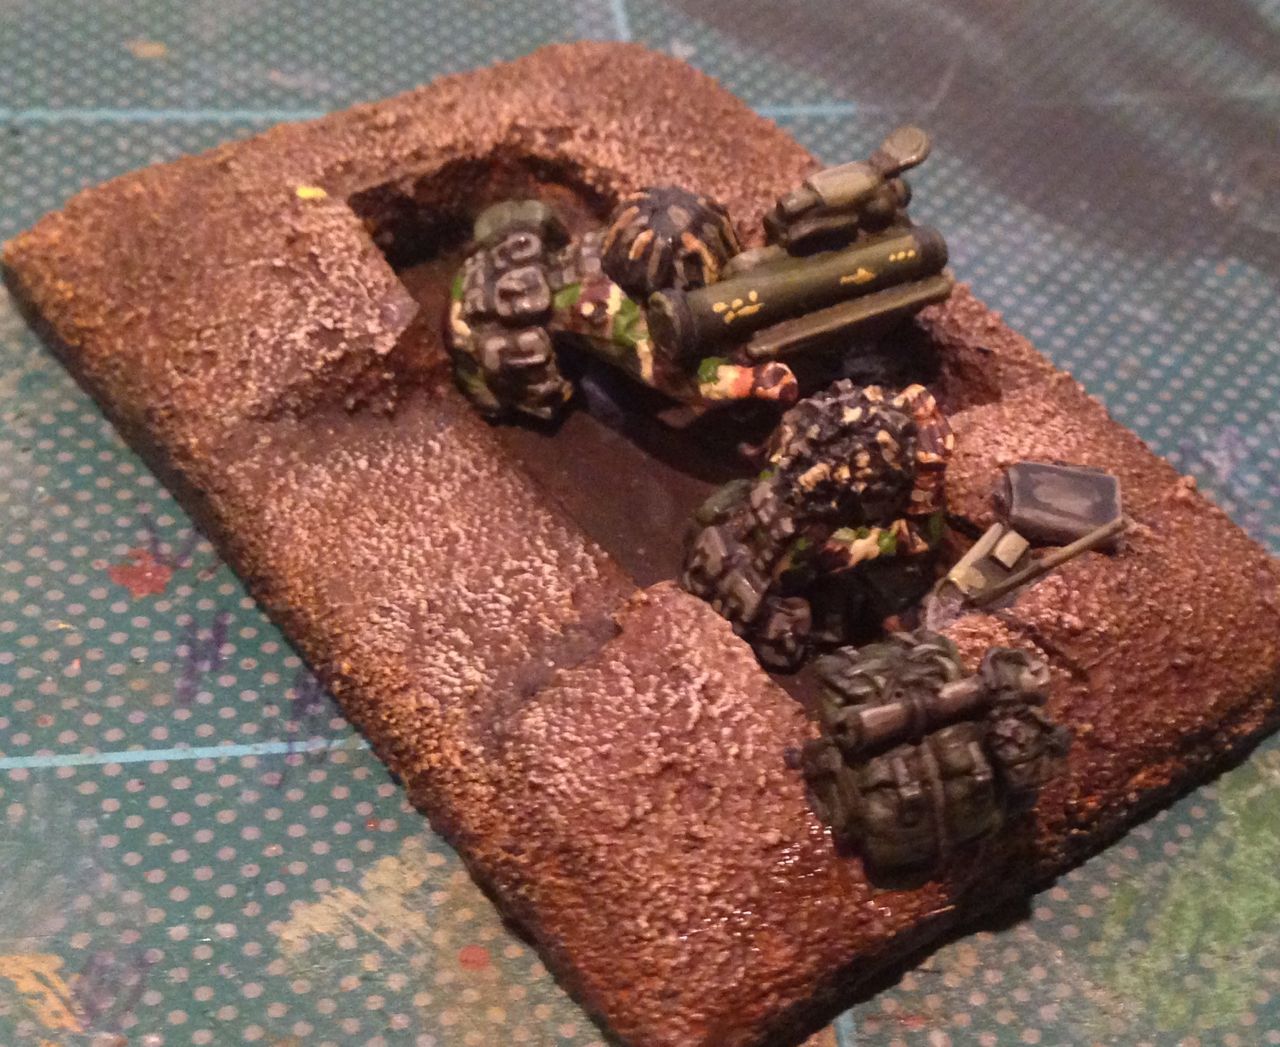
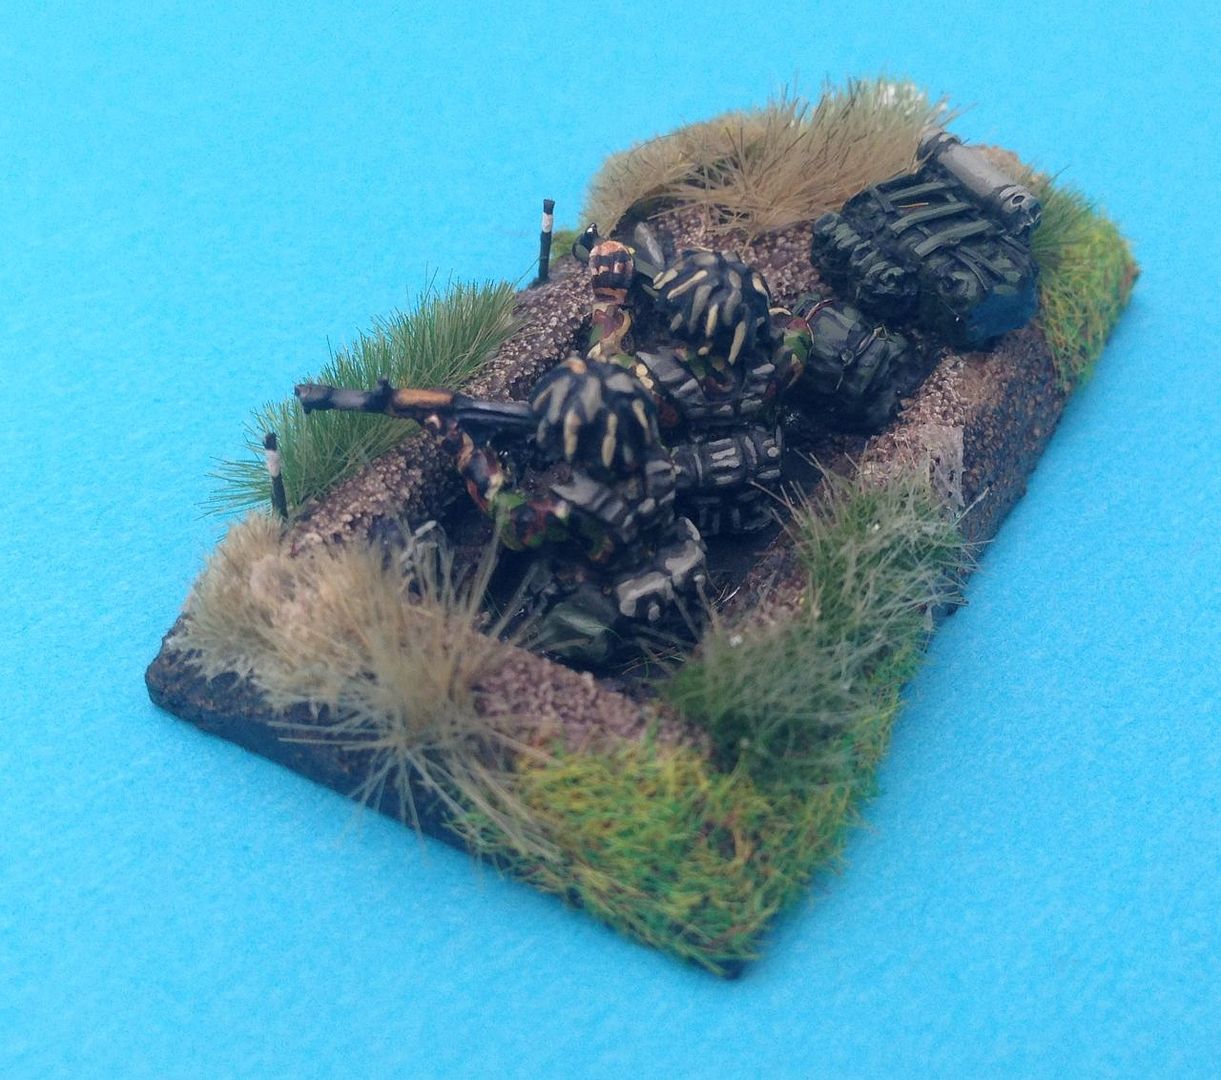
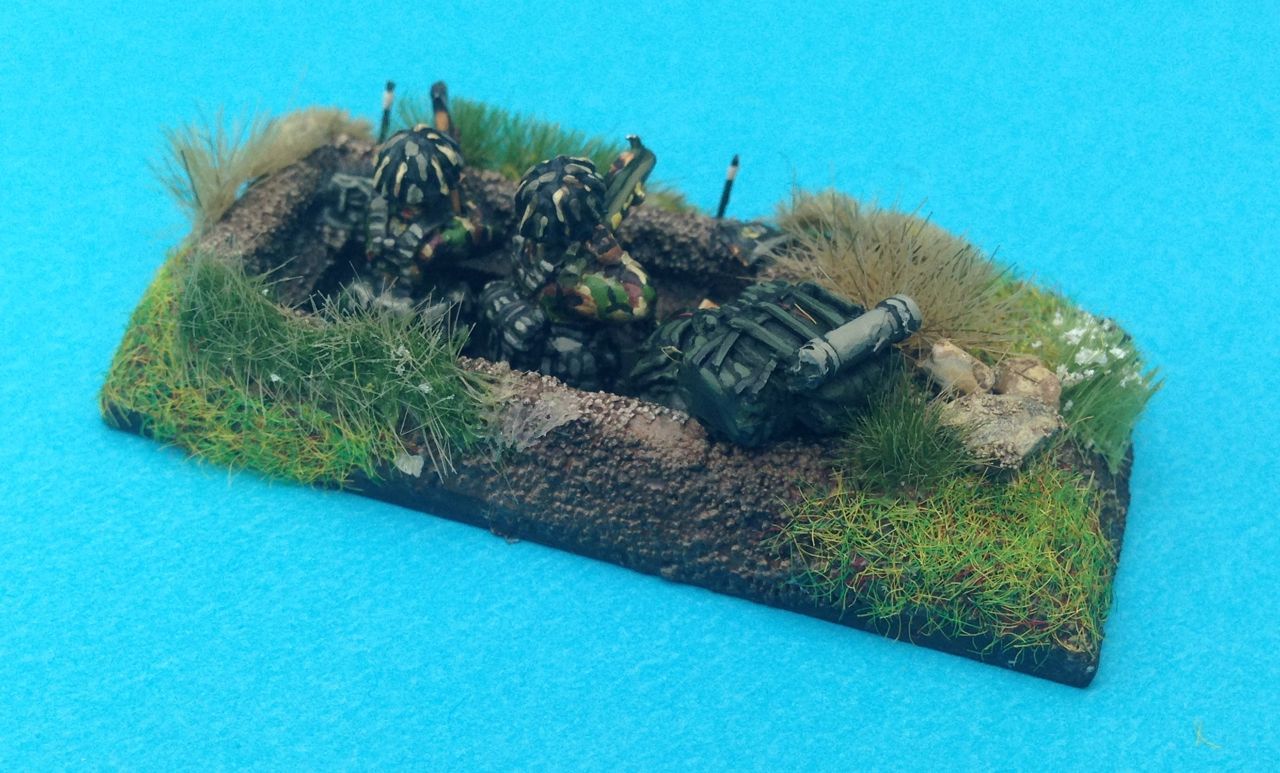
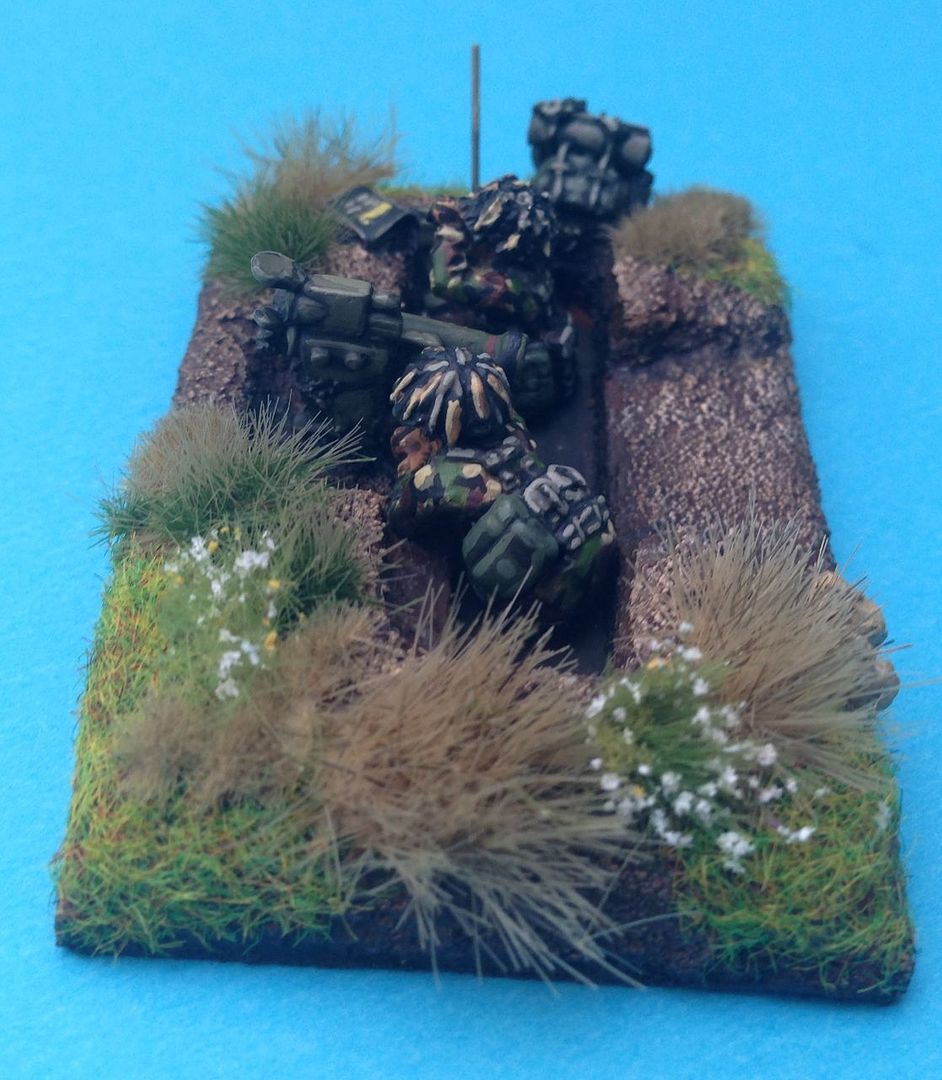
The late period MRB is the core element of 468 MRB forward detachment, figures are a mix of liberation and Elhiem all painted in sun Bunies, some of the figures wear the Afghanistan issued field service cap, my assumption being that soldiers are the same all over and if you have one you'll probably wear it. Immagery from both the Chechen conflict and afganistan suggest uniform discipline was lax. the battalion is configured for the late period with specific platoons for AGS 17 and Air defence. Vehicles are a mix of ACE BMP 2s and BMP1s that have been converted to 1Ps with the addition of an AT 4 launcher. I think the MTLB in this picture is S&S.
468 MRB for the Waidhaus mission has two battalions of Artillery attached, Lester Grau noted this configuration in .5% of post war exercises. The post on Soviet Artillery explains how artillery units were cascaded forward and how they wer task organised. in addition these units may take a far more active role in the direct fire battle than there NATO counter parts, something we did not manage to explore in the Waidhaus game. Both the battalions are configured as late period battalions with 24 Guns in three batteries with each battalion being capable of deploying upto two OP units. Ammunition resuply trucks are also represented. the 2S3s and 2S1s are S&S with some of the 2S3s being drawn from Mausmanns collection.The BRDM 2Us are ACE as is the PRP 3 (BMP SON) and SNAR 10 crew figures are liberation. trucks are mostly ICM.
In addition to the task organised units 468 MRB also has attached a number of elements from its parent Regiments support companies these include:
- Anti Tank
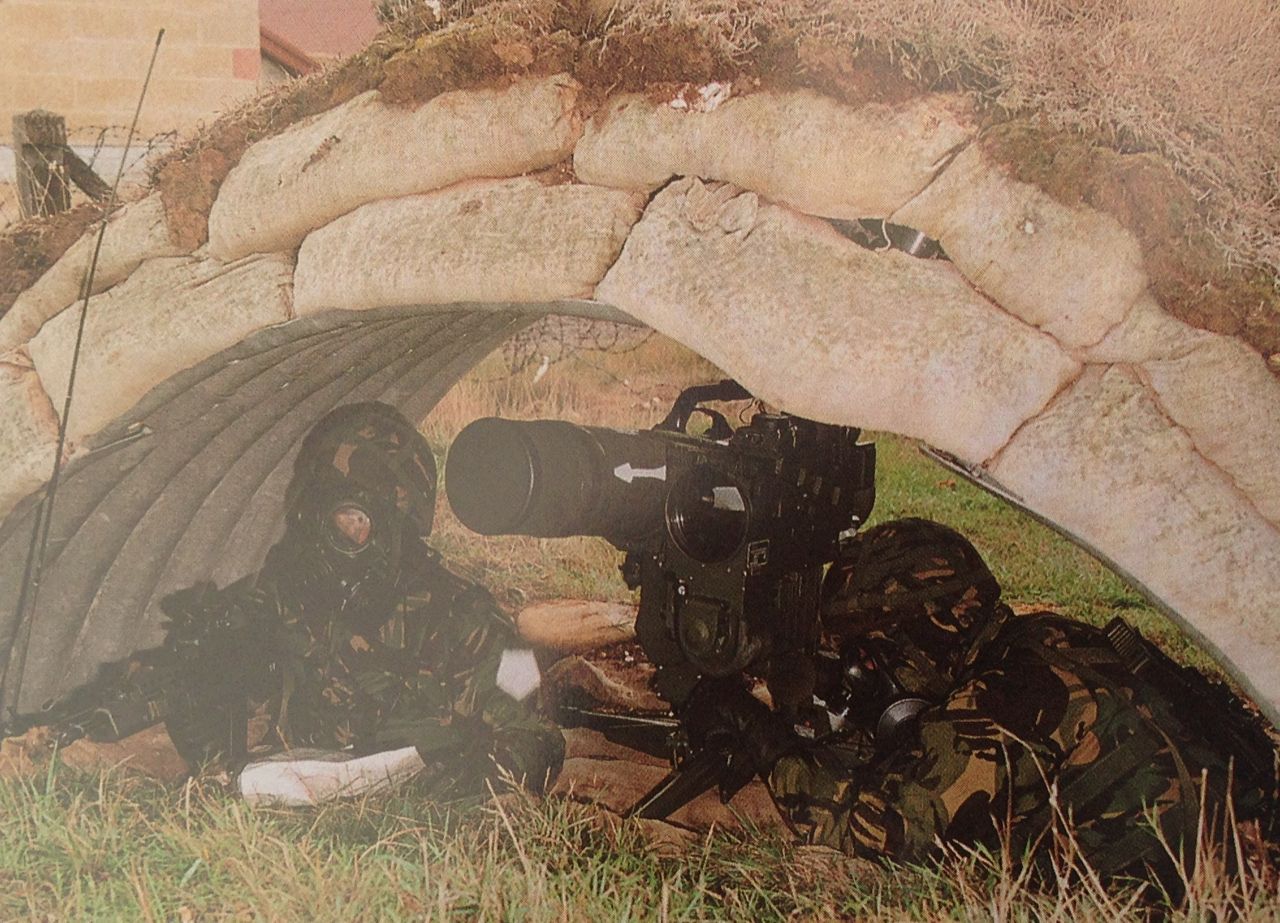
- Air Defence
- Engineer
The Recce elements that were on board were part of the lead MRR rather than 468 MRB and would be working on the mission of the MRR under separate Command and Control arrangements but would be operating in advance of the main body and potentialy along side forward detachments as in this case.

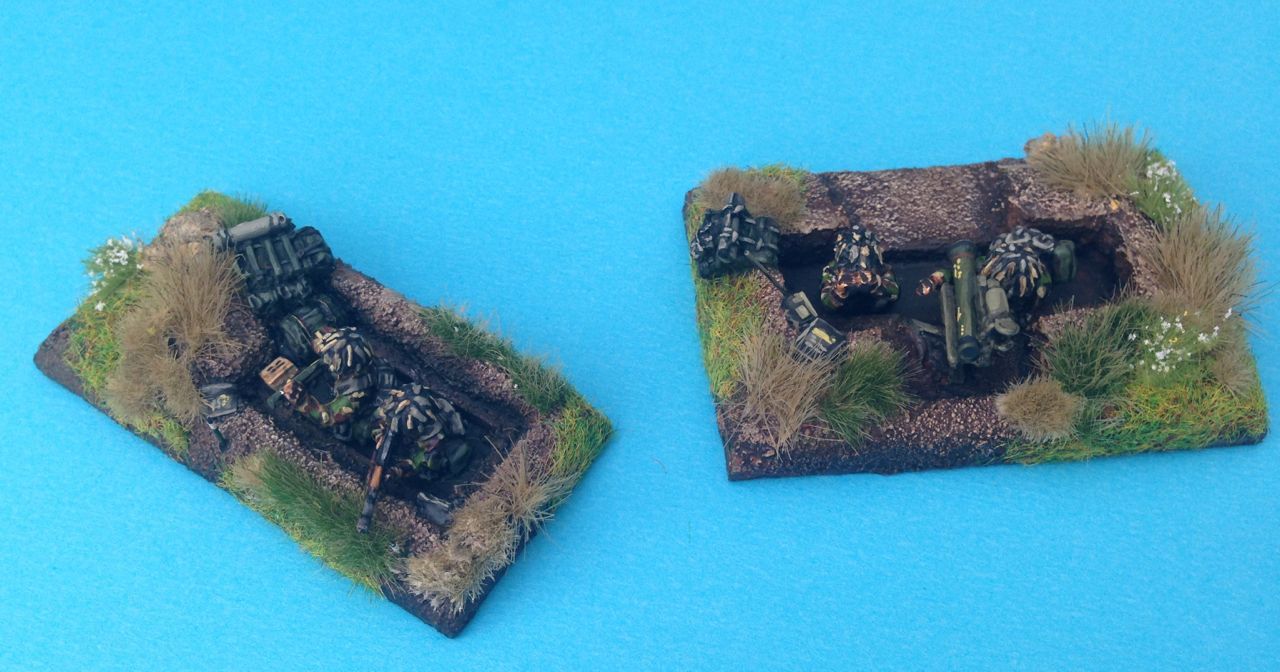
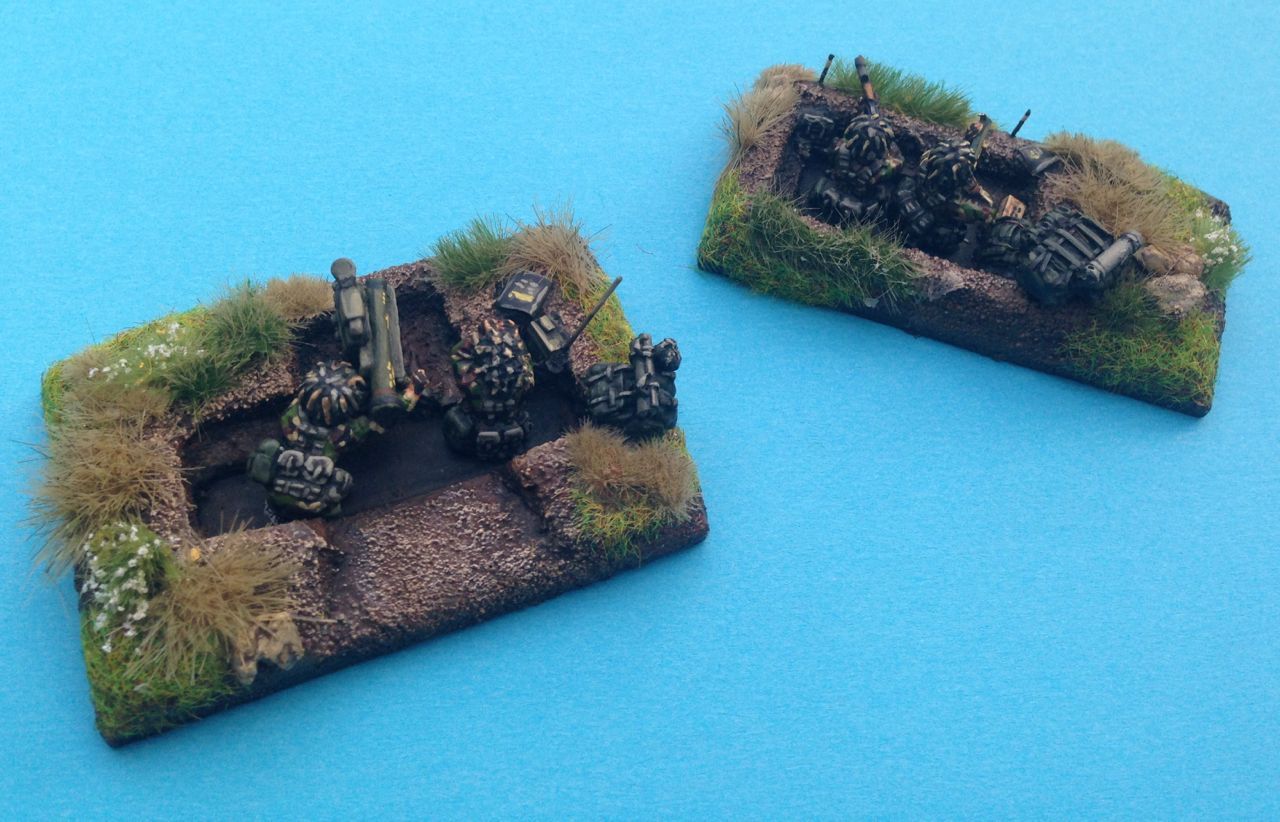
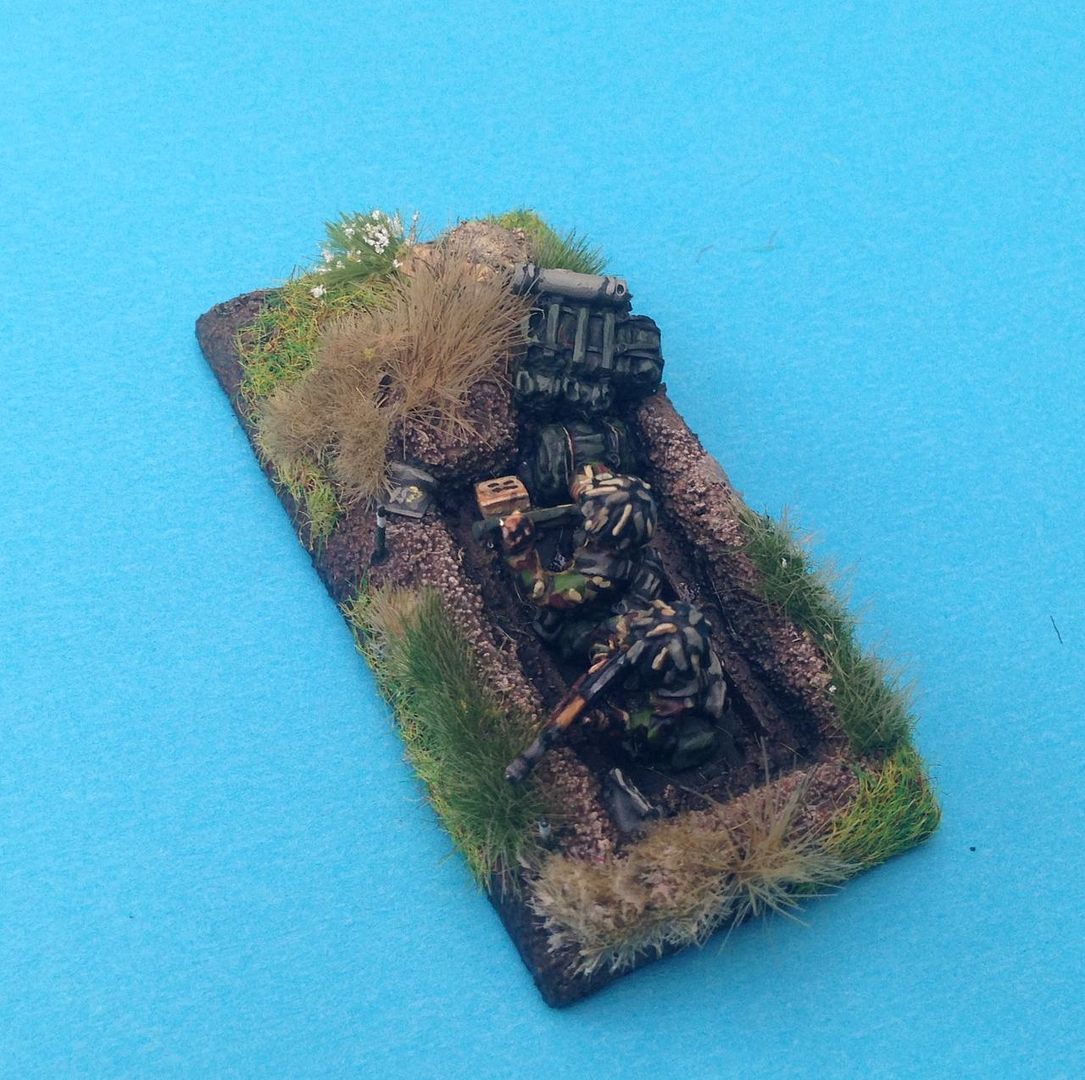
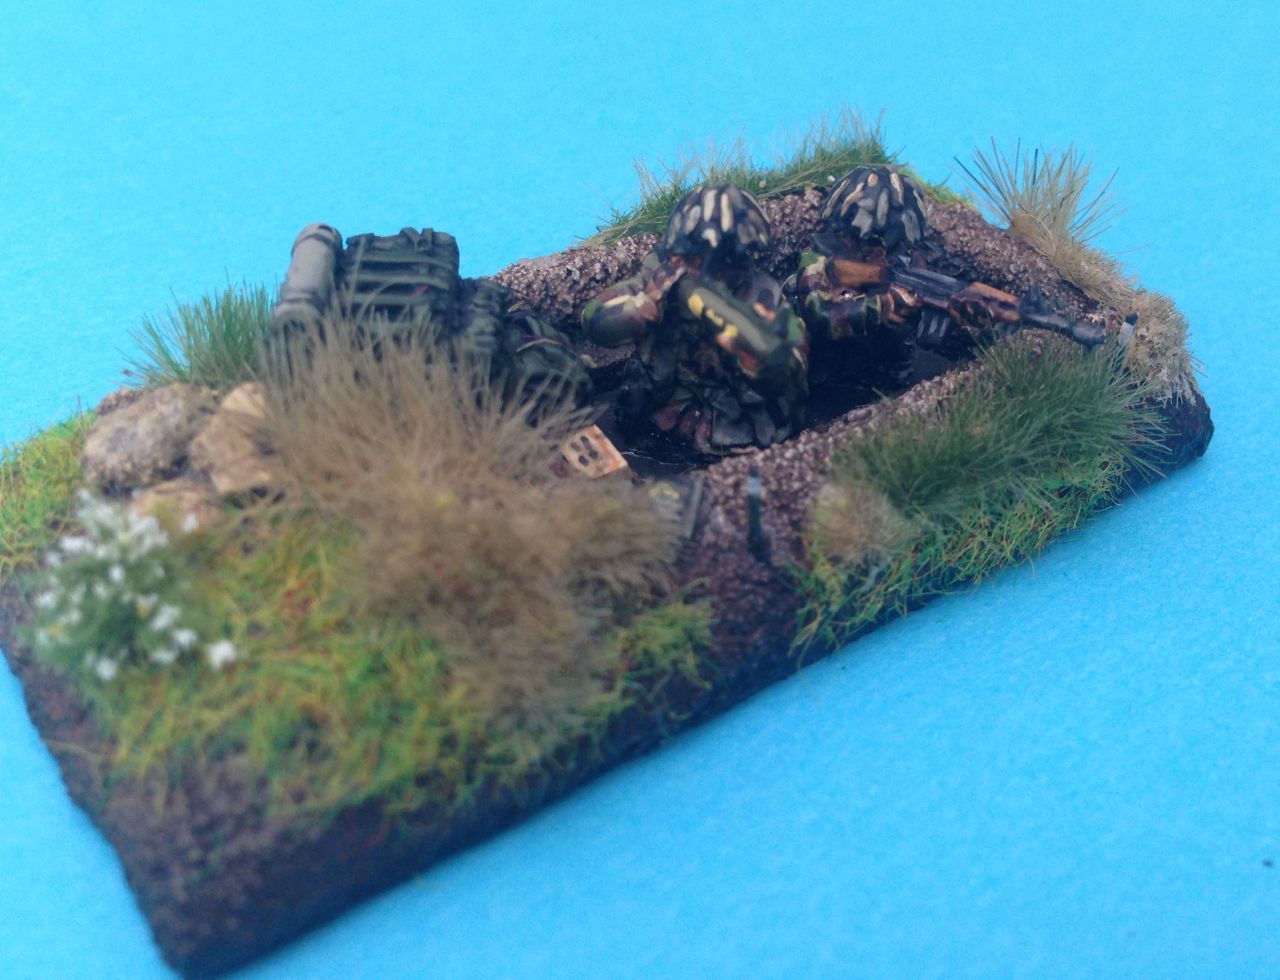
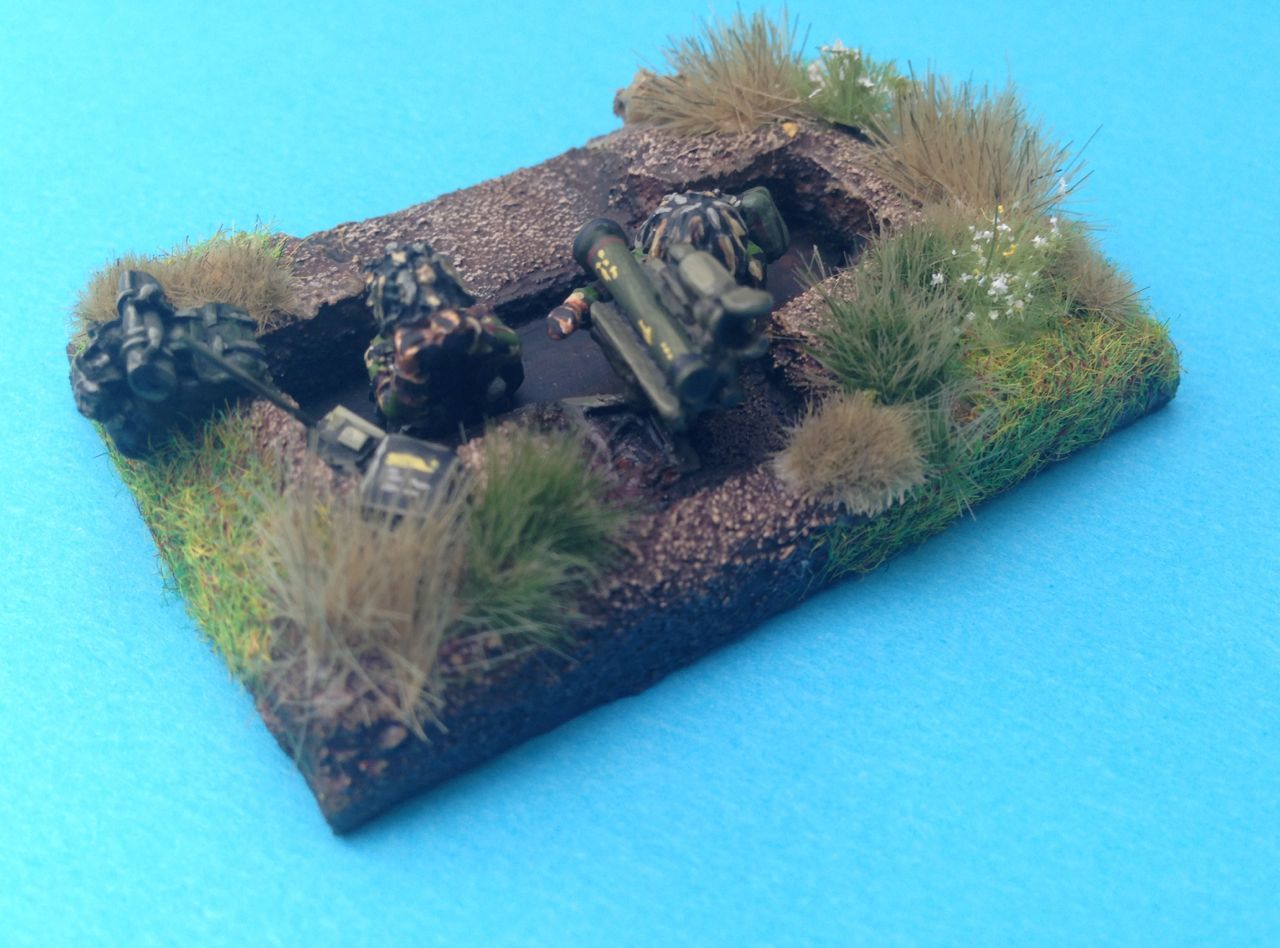
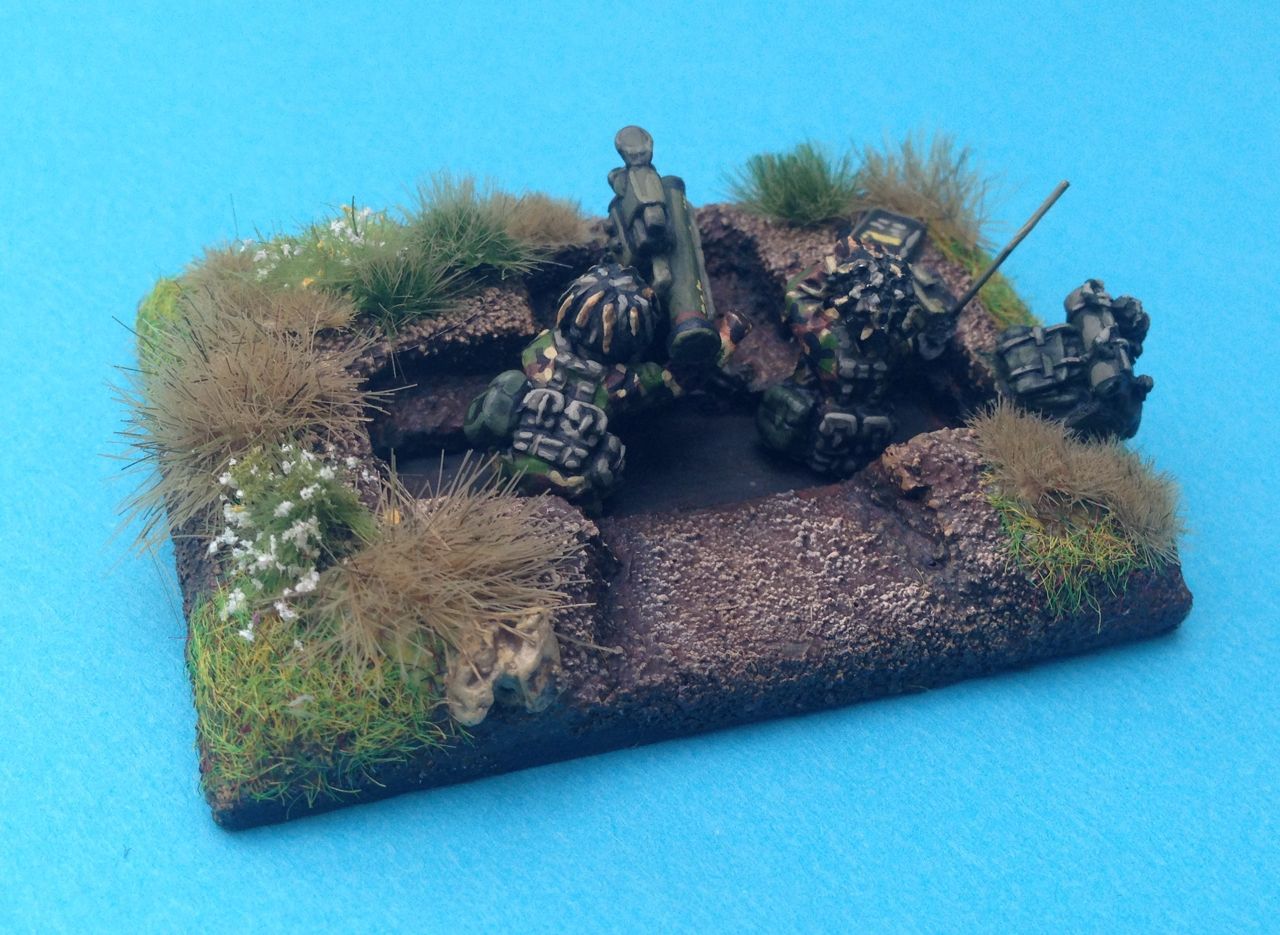
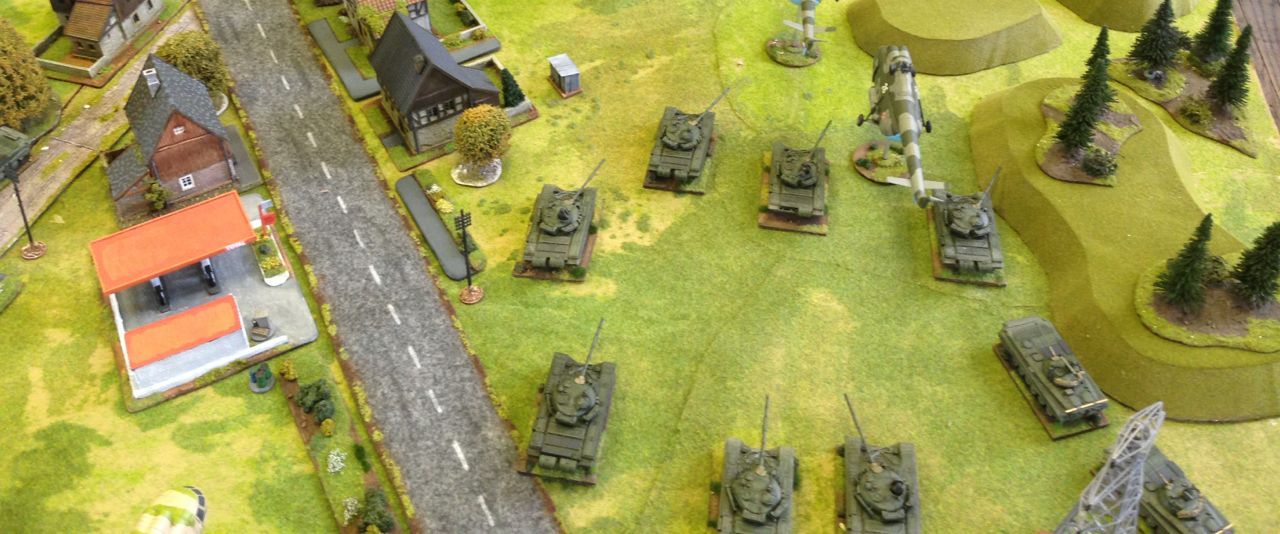
The Anti Tank Company is built using S&S BRDM 2s with the BRDM 2s with AT 5 having been converted to include the Gunners sight. The Anti Tank Company forms a very useful reserve component and this proved to be the case in the Waidhaus game, dealing with the initial counter moves by the German Recce Leopard 1s and if the game had developed I suspect it would have been critical to dealing with the Leopard 2s of 123 PzBtl?
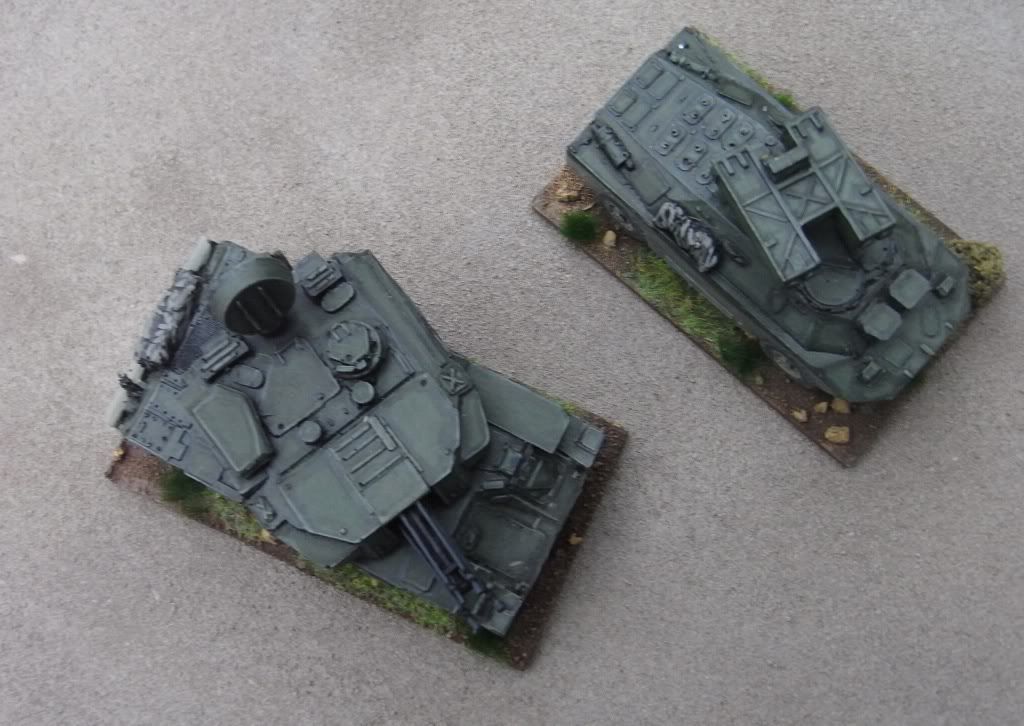
The Air defence company again built using S&S models, was drawn from the parent regiment, this to me looks like an inherent weakness of the Soviet system as the NATO deep battle doctrine developed with second echelon at Division and Army level being highly likly to be subject to BAI and CAI but in many instances would have lost a proportion of its Air Defence. Leaving them wholly reliant on divisional and army level air defence. The later cold war period would allow the deployment of an Air Defence Battalion consisting of a 2S6 Battery and a SA14 battery sad to say like the T-72Bs they are still a work in progress.
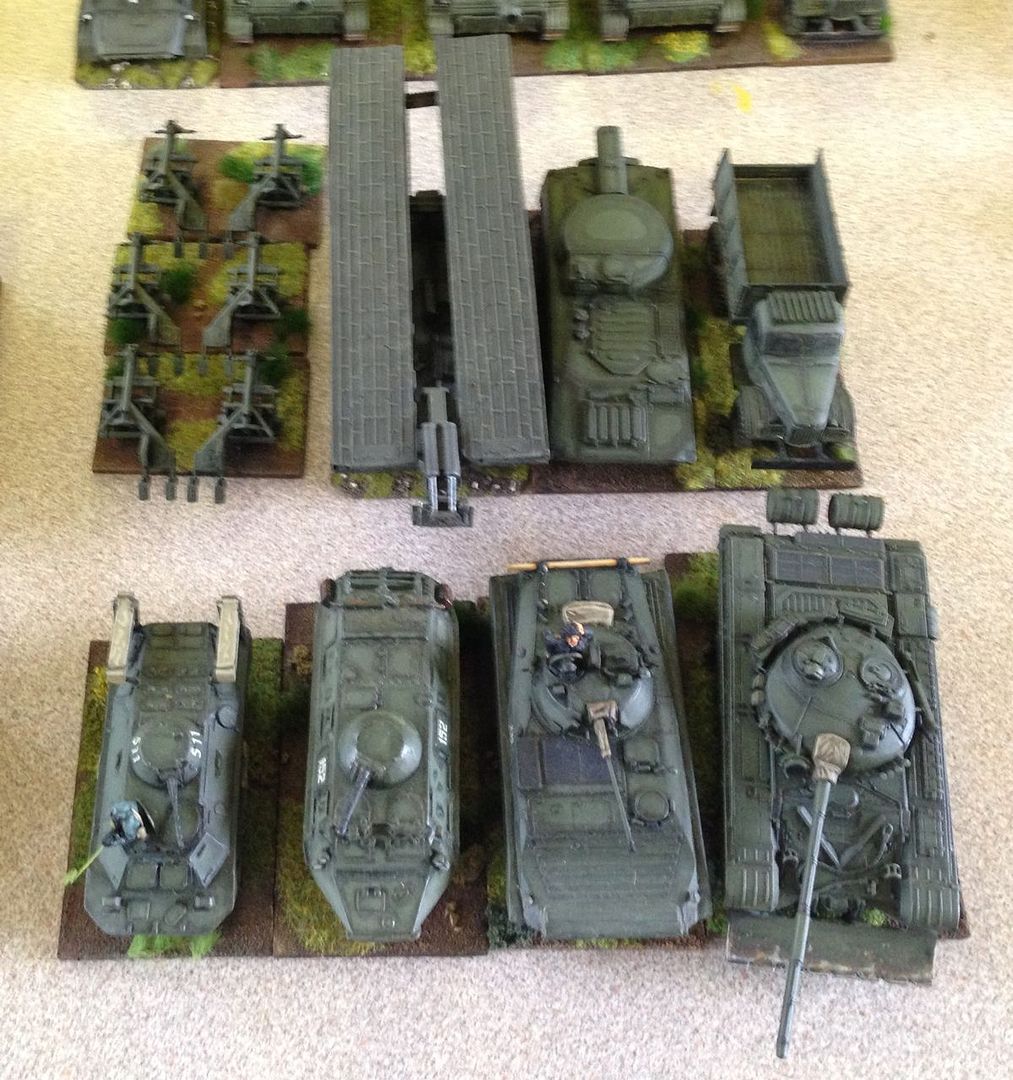
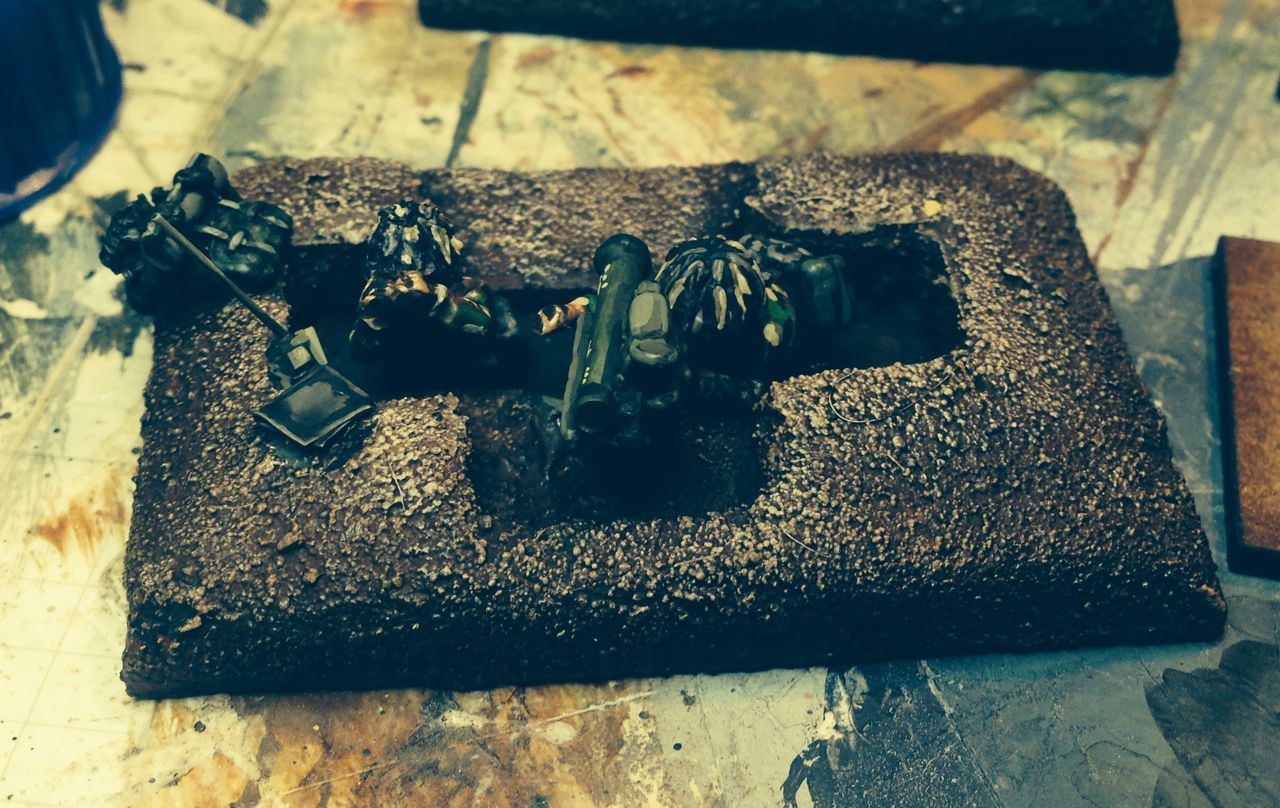
The final component of 468 MRB was a manupouver Support Detachment (link) This included a Sapper platoon, Sapper and NBC Recce, counter mine, gap crossing and route clearing capabilities, together with a Motor Rifle Company for security and additional labour.
468 MRB was a heavily task organised Motor Rifle Battalion which in this form may have fitted in at the lighter end of the scale for what the Soviets referred to as Brigades. it fits in with the tradition of reinforced task organised forward detachments that developed from operational concepts trialed by the Soviets in the closing stages of World War Two, exemplified in Vistual Oder offensives and the Manchurian campaign. These elements wer also a responce to NATOs deep battle and Air Land battle concepts which saw the Soviets shift emphasis from the second echelon to these Forward deployed Manouver support and enablement groupings with estimates that up to 30% of the deployed force npmight be committed in such roles.

At Waidhaus 468 MRB was assisted in its role by air assault elements focused on 901 DShVB, these primarily had the task of blocking German reserves reinforcing Waidhaus from the South. This was a key part of the Soviet evolving doctrine in the mid to late 80's before they adopted a more defensive doctrine. For the game 901 DShVB was task organised with:
- 396 GvOVP Medium and Heavy Lift Squadrons,
- 490 OVBP Assault Squadron
- Elements of 199 OVE BU, who provided Command & Control, ECM and Liaison aircraft.
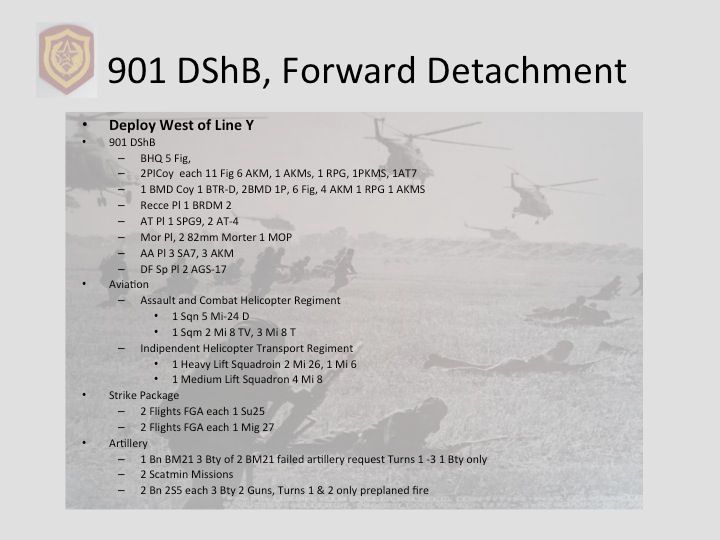
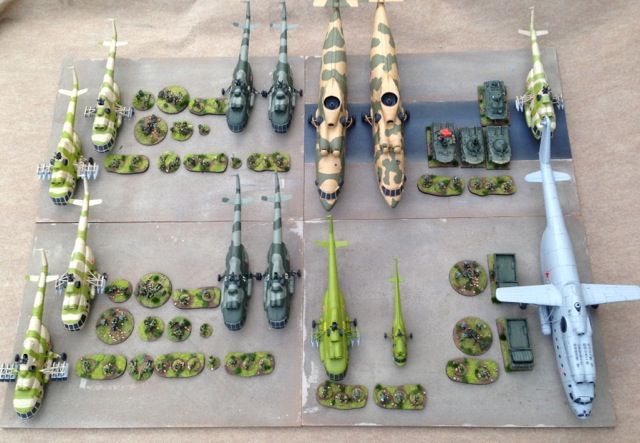
901 DShVB with transport, escort, command and control and EW elements, the battalion has two parachute infantry companies, an armoured companie and a range of support weapon platoons including Anti Tank, Air Defence, AGS 17 and 81mm Morter, they have been reinforced by the addition of a 120mm Morter platoon, not sure where from :). The parachute infantry company's include support elements including PKM sections and AT-7 sections and have been heavily task organised with the battalion support platoons creating potent light force units. figures are a mix of Liberation and Elhiem, aircraft are from a variety of sources including; KP, Matchbox, Zvezda and Italeri.

490 OVBP Attack Helicopter Squadron, was the final component of the force comprising 5 flights of hinds, interestingly they did not dominate the battle, their impact being constrained by the air superiority rule and the amount of German air defence. These squadrons were a key component of any air assault opperation, and might be seen as the "tank" component of the air assault team creating effective anti armour capability that could Manouver around the infantry element, The aircraft are again drawn from a mix of sources including; Italeri, Airfix, Zvezda and Matchbox.

Detailed References for the tactical formations and groupings discussed will be found in the references of the related posts, particularly the Orbat and TTP posts.
Related Posts:
Review - Book, The Soviet Conduct of Tactical Manoeuvre
TTP
TTP-Forward Detachments and Tactical Air Assault
Scenario:
Scenario - Storming The Waidhaus Gap
ORBAT - Soviet Air Assault Capability Part 1, Overview and Lift Assets
ORBAT - Soviet Air Assault Capability Part 2, Army Air Assault Battalion
ORBAT - Soviet Task Org, Fronts in the Western TVD
Wargames Unit:
Wargames Unit - Soviet Late 80's Independent DShV Battalion
Wargames Unit - Soviet Late 80's MRB
Wargames Unit - The German Army at Waidhaus
Wargames Unit - Soviet, Combat Helicopter Regiment, Assault Helicopter Squadron
Wargames Unit - Soviet, Combat Helicopter Regiment, Attack Helicopter Squadron
AAR:
AAR-Storming The Waidhaus Gap, Part 1 Ground and Deployment
AAR-Storming The Waidhaus Gap, Part 2 Soviet Air Land Battle
AAR-Storming The Waidhaus Gap, Part 3 Counter Attack
Downloads:
Storming The Waidhaus Gap, 19 Mb